A farmer’s work is never done and if you happen to have a neighbor who is a farmer, sometimes a person just lends a hand. Today we decided to mend a fence, not just any length of fence, but a brace (so the gate can be closed and secure). In this country where it snows a lot in the winter, fences come down. Fence repair is a task that usually takes place in early Spring. Since the area is classified as “open range” meaning if a property owner wants the cattle to stay off his/her land, the property owner has to put up and maintain the fence (considered fencing out).

Post Hole Digger
So, the repair. Well, first of all, one needs a post hole digger. Of course, there are mechanized diggers, however we like to use what we have available to us. I received a visual demonstration on the tool (yep, I am a visual person on these sort of things). Before I know it, I am digging my very first hole. The process, although quite manual and requires heavy use of upper arm, shoulders and abdomen, was relatively easy. If you want to know more on how to use a post hole digger, take a look at this video.

Tamping Tool
Once the post is placed in the hole, it needs to be whacked into the ground. Mind you, the post should be straight. Lucky for me, chivalry is alive and well in my world and Jim took care of that for me! Now, the purpose of the tamping tool is to pack the dirt firmly around the post. Basically, it removes all of the air pockets that formed while packing the dirt back in. When setting a post, it is real important to make sure it is anchored and will not fall over or get pushed over by the cows.

Close up of the barbs. Easy to see how once can acquire a few nicks and scratches.
Here is where things can get tricky. It is time to string the barbed wire. I never worked with barbed wire before but could tell by a quick visual inspection that I could be sporting a few nicks and scratches by the end of this job! We need to string four wires across our posts. We start at the bottom and wrap one end of the wire around the post. U-nails (aka fence staples) are used to secure the barbed wire to the post, usually two u-nails will do the job.

Spool of barbed wire. It is pretty heavy and hard to maneuver.
This next step really requires two people. Barbed wire comes on a spool and it is heavy. We slid the tamping tool through the spool so we could roll and wind off the correct length. A sturdy cutter is needed in order to cut the wire. We used wire stretchers to get the wire as taut as possible, wrapped it around the post and then used a few u-nails to anchor the barbed wire to the post.
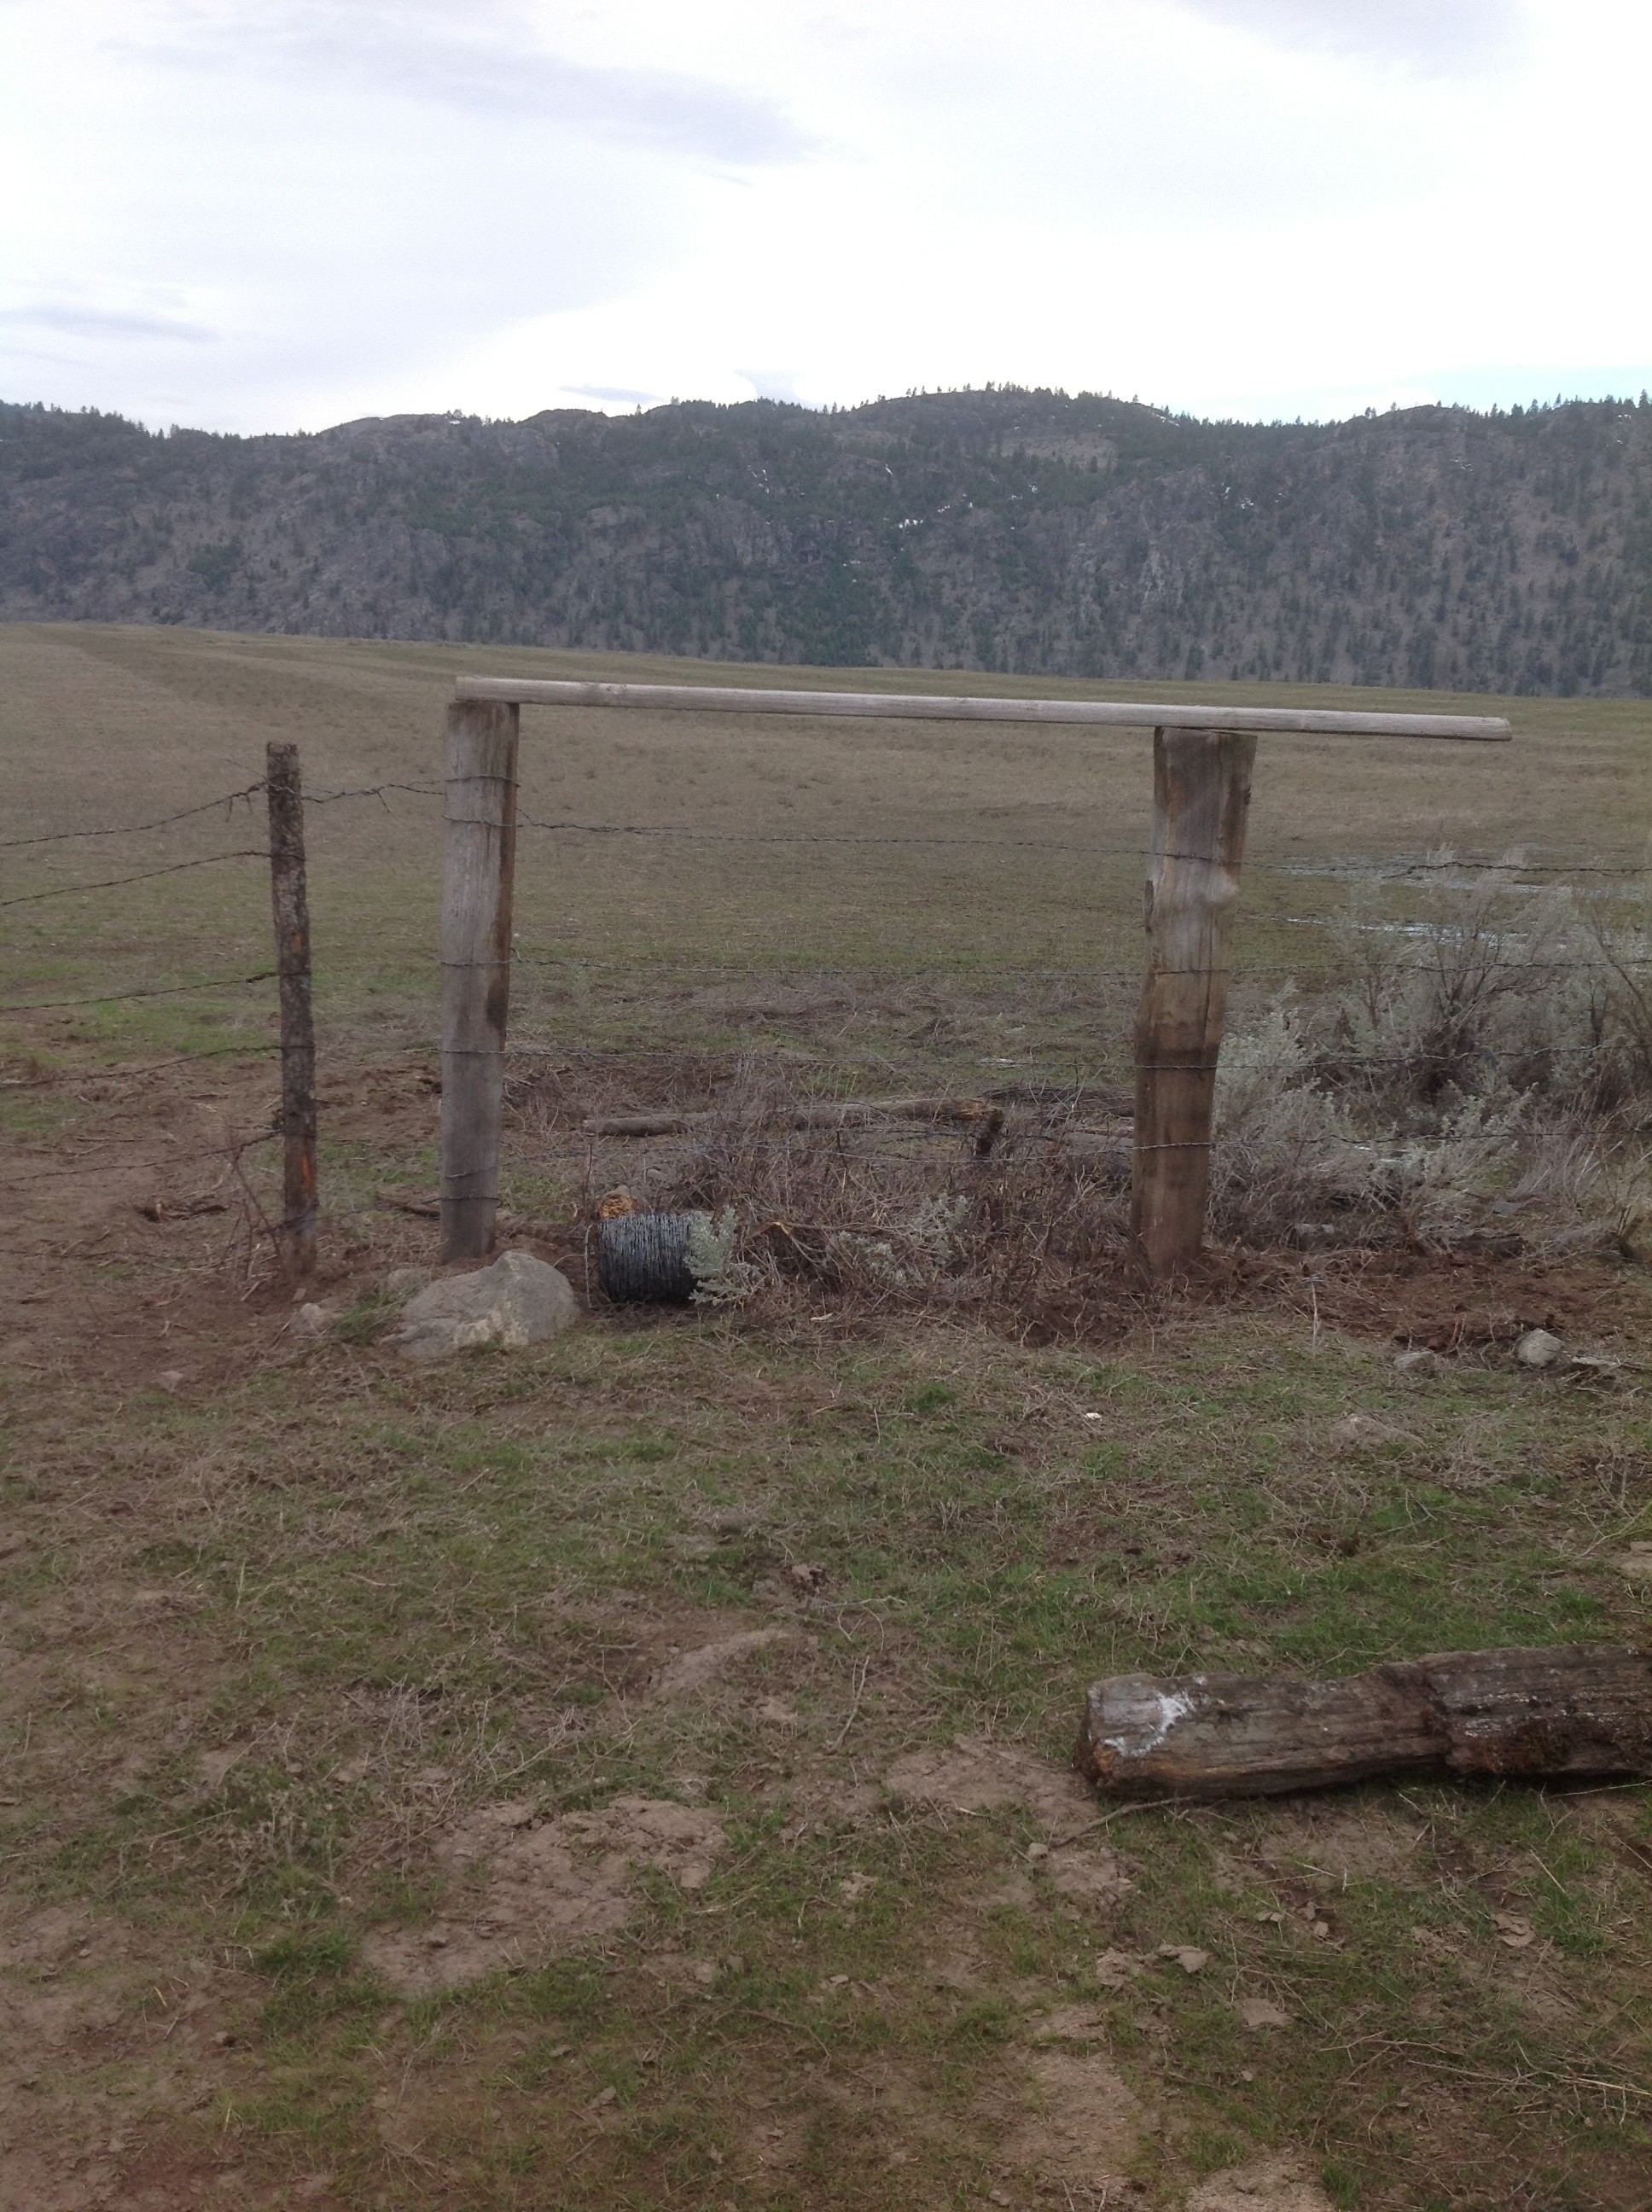
This is a fence brace, which is the part that the gate attaches to.
Finally, the repair is done. I am quite pleased at how this came out. I have oversimplified the work we did, but really wanted to convey to those who just don’t know what is involved in a rural lifestyle. There are miles and miles of fence that needs to be maintained. Our farmer neighbors are up working before sun up and are working well beyond sunset. Be sure to support your local farmer! You, your family and your community depend on it. Oh yes, those nicks and scratches? Well, we were “bit” by the barbs every now and then, but happy to report, nothing too severe!